zsazsa is a CTI program management and production platform built around MISP. It sits on top of your MISP infrastructure and does not install MISP or misp-scraper for you.
Before you install
zsazsa requires the following infrastructure to be in place first:
- A MISP server to store CTI program data. Where zsazsa saves its objects: stakeholders, PIRs, GIRs, flash intel alerts, advisories, briefings and so on. This is the server you point
MISP_WEBAPP_URLat. - A MISP server running misp-scraper. The scraper feeds threat events into a MISP instance that zsazsa polls for the data collection view and analyser pipeline. This is the server you point
MISP_URLat, and it can be the same server as above. - One or more additional MISP servers (optional but recommended). Supplementary intelligence feeds configured under Collection sources, ideally partner-operated or community instances.
zsazsa runs on top of MISP. One MISP instance stores its program data; another, running misp-scraper, feeds the collection pipeline. The two can be the same server.
Installation
Installation is recommended inside the MISP custom application directory so it runs under the same web user as MISP. On Ubuntu this means installing as www-data:
# Create the custom app directory if it doesn't exist
mkdir /var/www/MISP/misp-custom
chown www-data:www-data /var/www/MISP/misp-custom

cd /var/www/MISP/misp-custom
sudo -u www-data git clone https://github.com/cudeso/zsazsa/ zsazsa
cd zsazsa
sudo -u www-data bash docs/install.sh
The installer creates a venv in the project root, installs Python dependencies, prepares the data directory, and creates config/__init__.py if needed. After installation, edit config/__init__.py and set your MISP URL and API key settings.
Running the application
For local testing, start the application directly:
source venv/bin/activate
python run_webapp.py
For any real deployment, run zsazsa behind a reverse proxy rather than exposing the built-in server directly. The proxy can be the same web server that already serves your MISP instance, so zsazsa lives under a subpath of your existing MISP site (for example https://misp.example.com/zsazsa). This is the recommended setup and is covered in Production deployment behind Apache below.
The analyser pipeline runs separately, typically via cron:
source venv/bin/activate
python run_analyser.py
Production deployment behind Apache
zsazsa can be served under a subpath of the MISP Apache virtual host, for example https://misp.example.com/zsazsa. The application adapts to any subpath automatically.
1. Keep it running with systemd. Copy the service template, then enable it. For production, bind the listener to localhost (127.0.0.1) in run_webapp.py so it is only reachable through Apache.
sudo cp docs/zsazsa.service.template /etc/systemd/system/zsazsa.service
sudo systemctl daemon-reload
sudo systemctl enable --now zsazsa.service
2. Enable required Apache modules:
sudo a2enmod proxy proxy_http headers
sudo systemctl reload apache2
3. Add the proxy inside the existing <VirtualHost *:443> block:
# zsazsa CTI application
ProxyPreserveHost On
RequestHeader set X-Forwarded-Prefix "/zsazsa"
RequestHeader set X-Forwarded-Proto "https"

ProxyPass        /zsazsa  http://127.0.0.1:5000/
ProxyPassReverse /zsazsa  http://127.0.0.1:5000/
The value in X-Forwarded-Prefix must match the path used in ProxyPass/ProxyPassReverse. The application reads these headers at runtime to construct links and build correct https:// URLs. Without a proxy, both headers are absent and the application behaves exactly as before.
Configuration
Almost all runtime settings live in config/__init__.py, and most can be changed from the web interface without editing the file directly. The main settings page at /config groups settings across eight tabs:
| Tab | Covers |
|---|---|
| Connections | The webapp MISP data store and the OpenAI API key |
| Products | Product type catalogue and organisation-wide focus points |
| System | Analyser window, log retention, web server host/port and TLS |
| Prompts | Prompt templates in zsazsaprompts/ |
| AI | Default model and per-feature model/prompt overrides |
| Context elements | MISP tags, markers and action presets |
| Notifications | Named webhook channels (Mattermost; Teams/Email planned) |
| Styling | Branding used in PDF exports and notifications |
Collection sources, namely the MISP scraper connection, additional MISP servers and manual sources, are managed separately at /config/sources/. The config file is backed up to config/__init__.py.backup before each save.
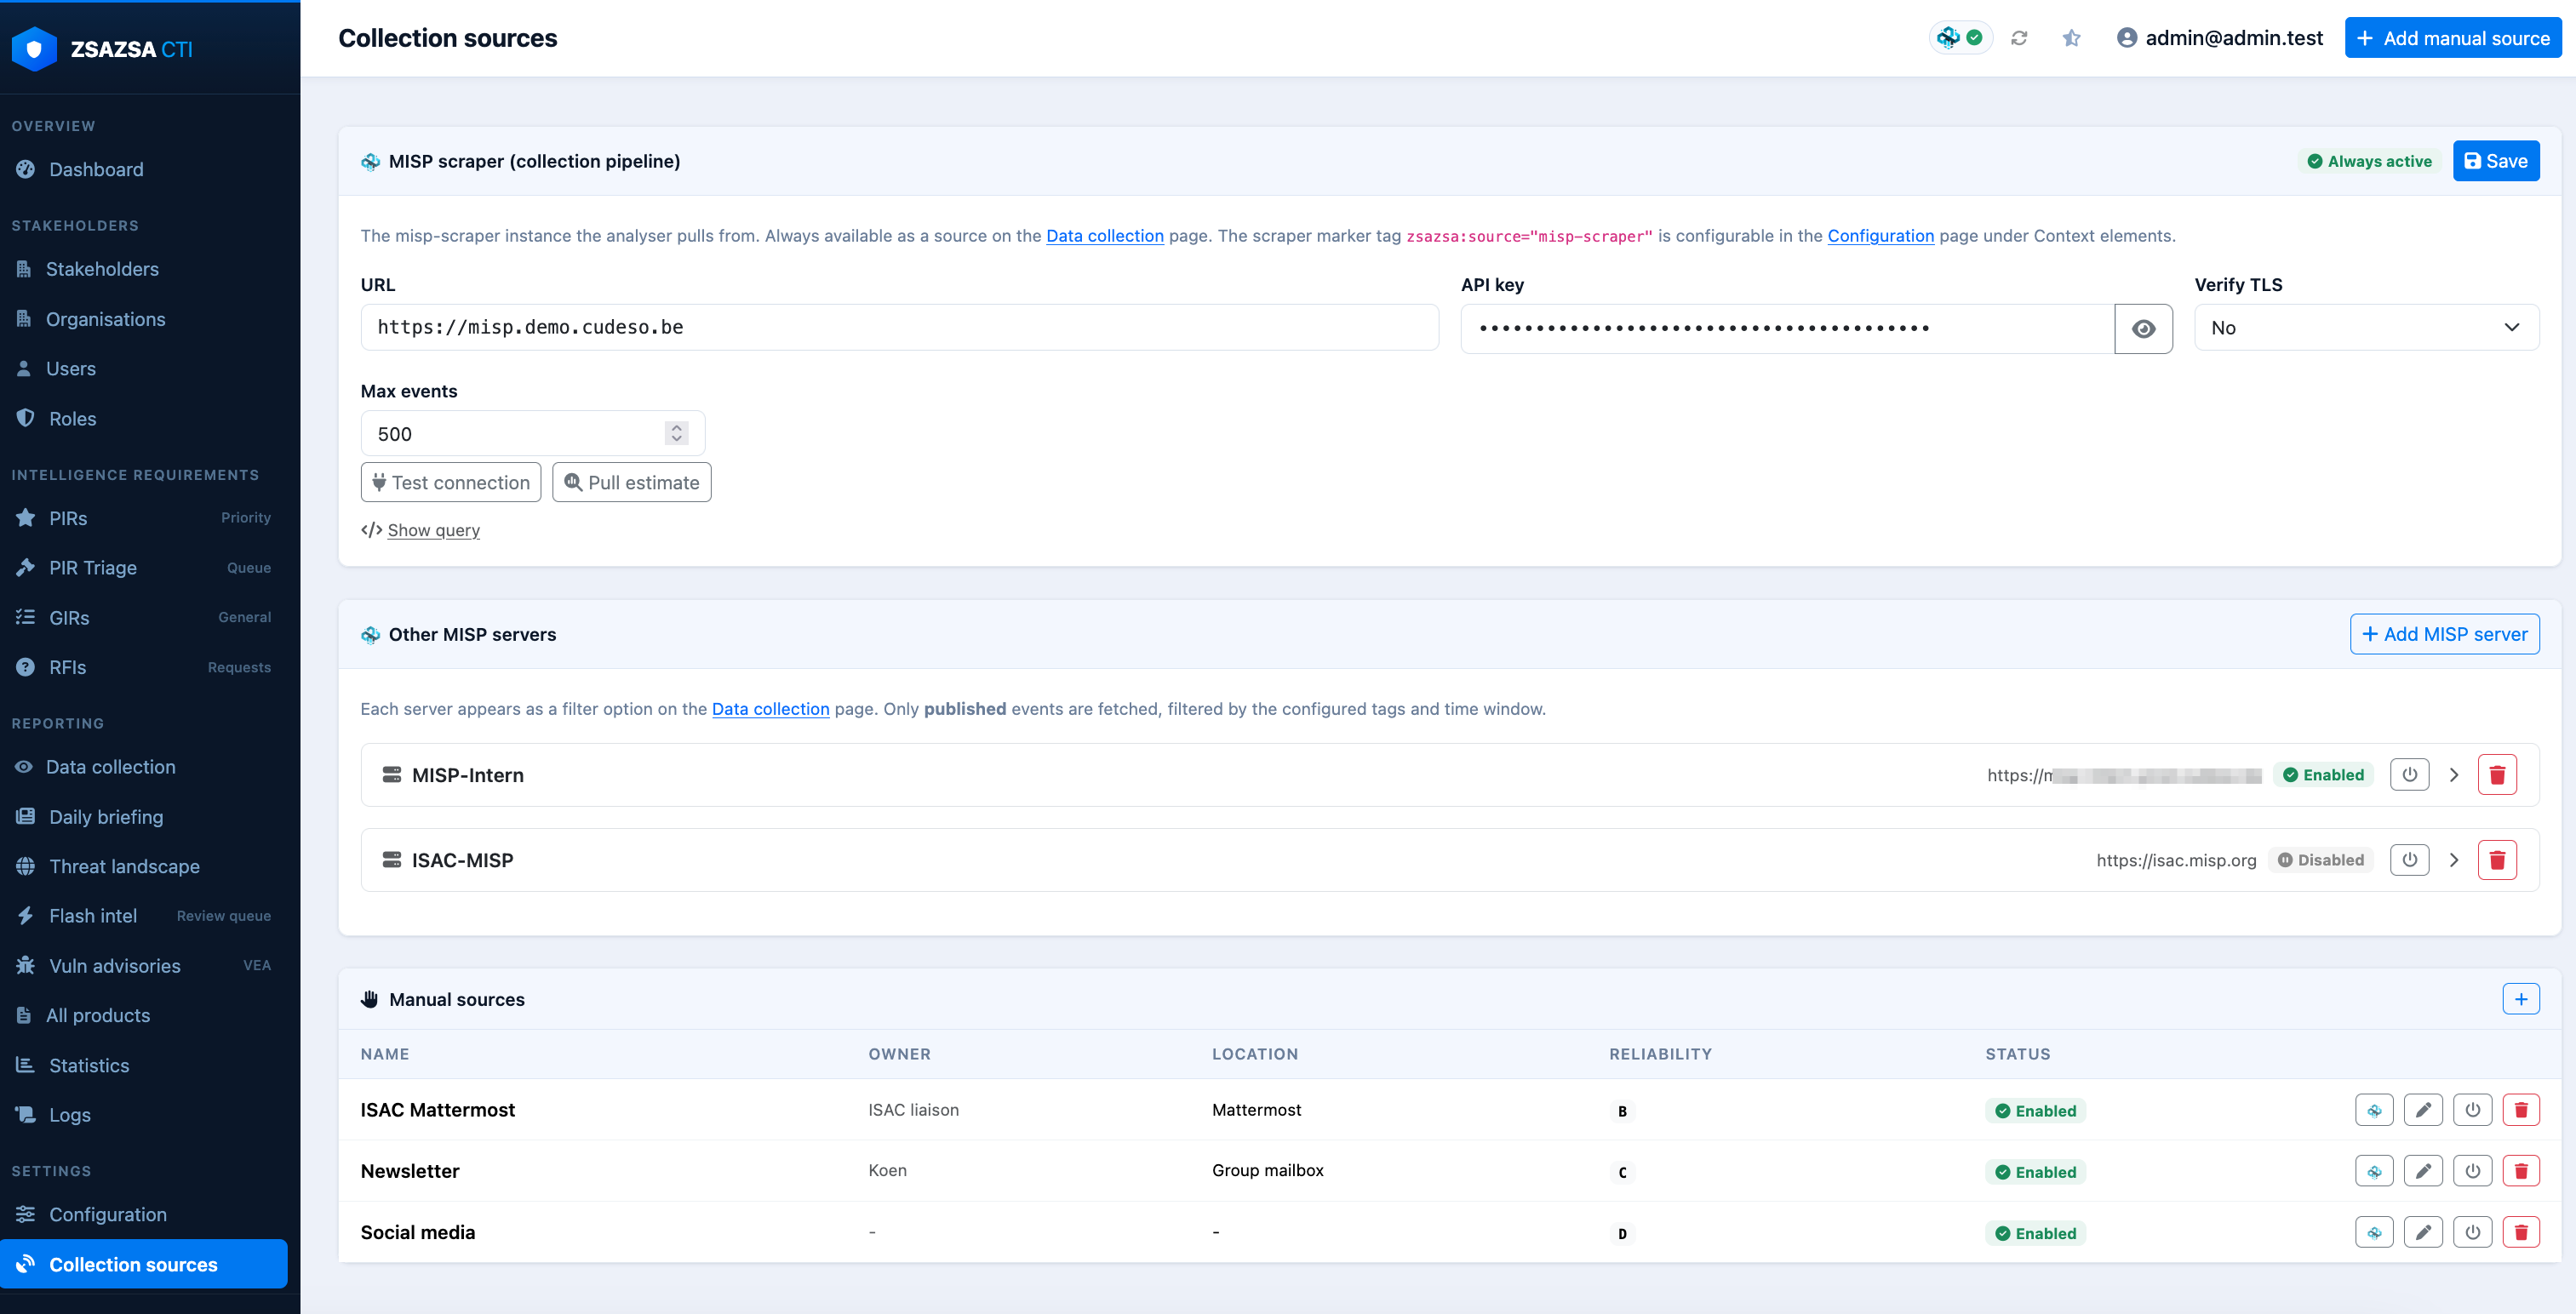
/config/sources/, including the scraper, additional MISP servers and manual sources.MISP data model
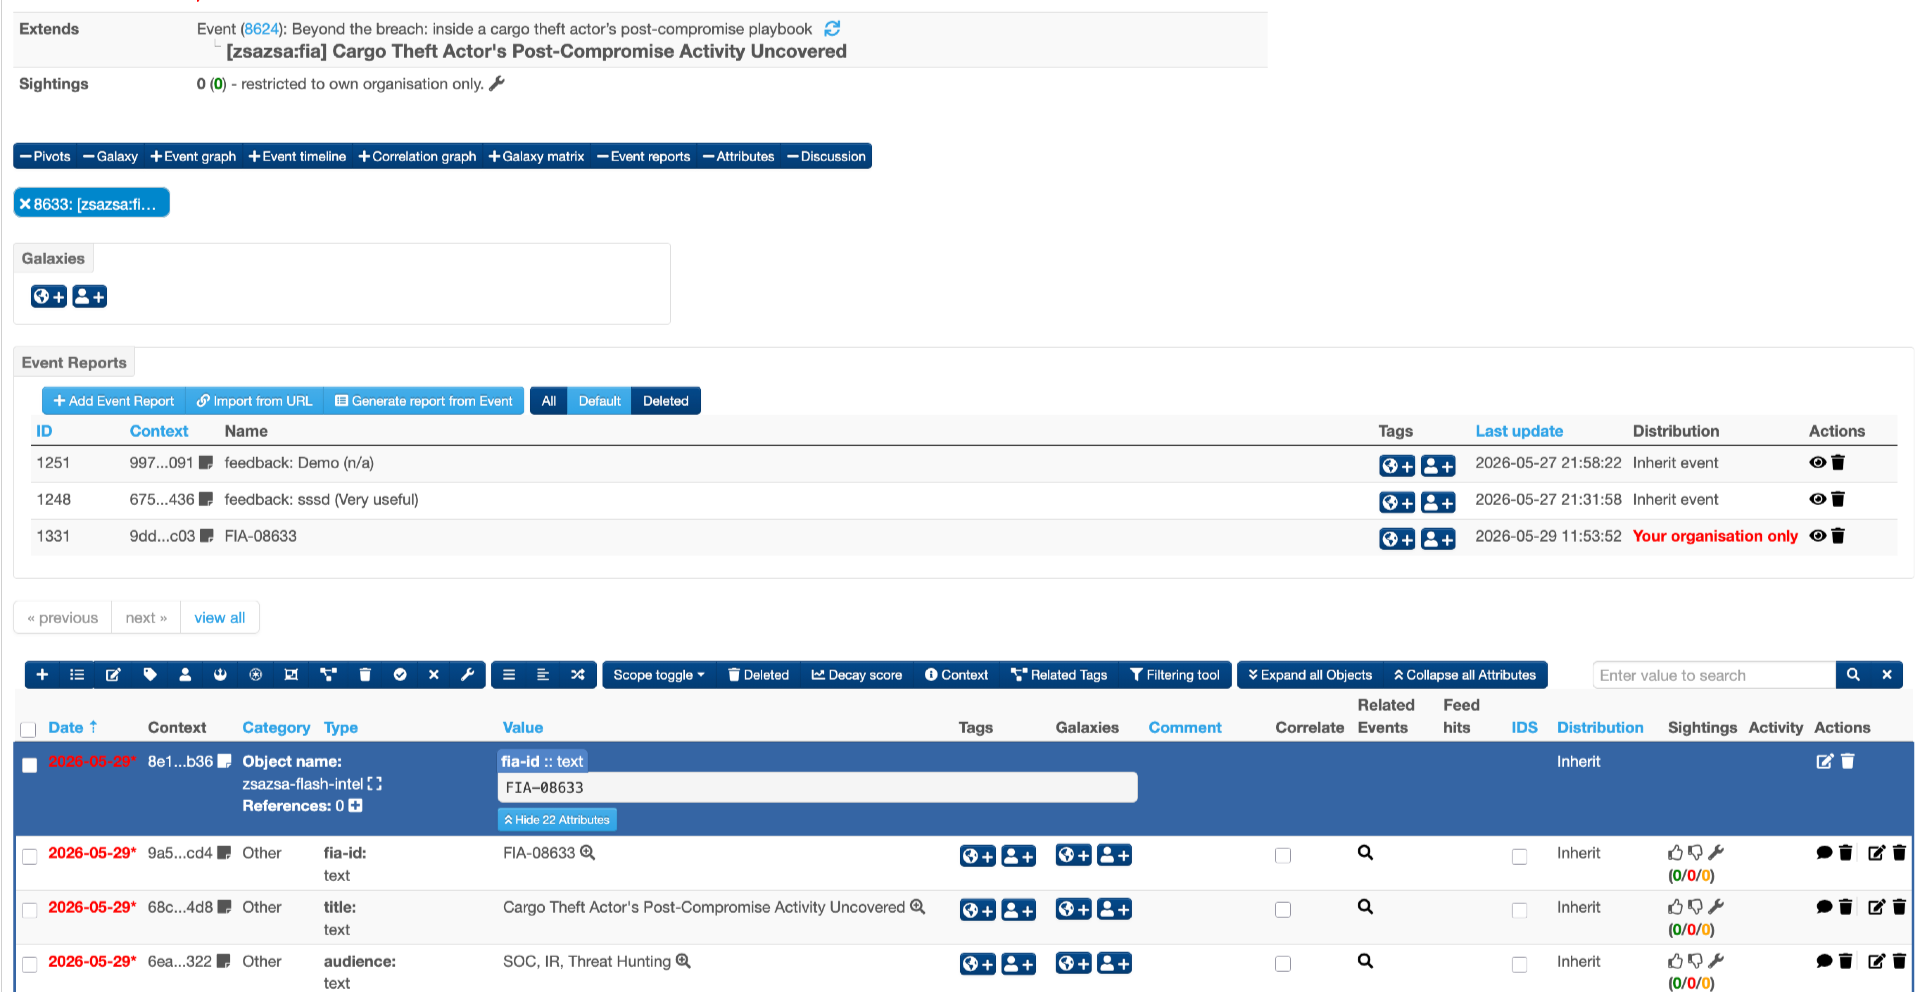
Each business entity is stored as one MISP event, with data held inside a custom MISP object. Custom object templates live in webapp/misp_objects/.
| Entity | MISP object |
|---|---|
| Stakeholder | zsazsa-stakeholder |
| PIR | zsazsa-pir |
| GIR | zsazsa-gir |
| RFI | zsazsa-rfi |
| Flash Intel Alert | zsazsa-flash-intel |
| VEA | zsazsa-vea |
| Daily briefing | zsazsa-daily-briefing |
| Threat landscape report | zsazsa-threat-landscape-report |
| Collection source | zsazsa-collection-source |
Every entity event carries a type tag so it can be searched independently of the object. All tags in the zsazsa: namespace are applied as local tags, so they never sync to connected MISP instances.
Full reference
This page covers the essentials. The complete README documents the notification and distribution flow, per-product coverage, every configuration setting, and how to create each data collection source type.